

📖 Estimated reading time: 2 min
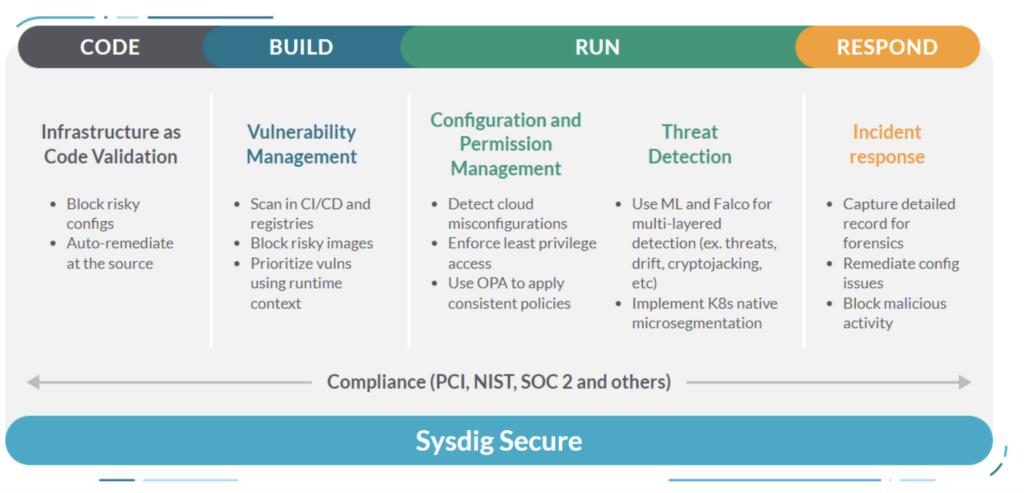
Sysdig Secure can be integrated with your container registry, adding a layer of defense between the pipeline and the runtime. Such integration improves the depth of defense, as visibility into vulnerable images can be converted into policies that will prevent their use.
It is relatively common in the corporate environment to use old, vulnerable images, which can put the entire structure at risk. A solution that shows in detail how vulnerable the container images used are certainly has great value, especially for companies with strict regulations such as financial institutions. In this article we will look at integration with a Registry solution.
In this article we will look at integration with a Registry solution.

Only 3 items are required:
[1] Active license in Sysdig.
[2] Registry access credentials with read privilege.
[3] Sysdig Secure API Token.
In this material, I will be using OpenShift as the Kubernetes platform, and Quay as the container registry.
The installation is based on a helm chart, which makes it very easy to do.
If you don’t already have the helm binary, just install it with a few commands:
$ curl -L https://mirror.openshift.com/pub/openshift-v4/clients/helm/latest/helm-linux-amd64 -o /usr/local/bin/helm
$ chmod +x /usr/local/bin/helm
$ helm version
version.BuildInfo{Version:"v3.11.1+6.el8", GitCommit:"66bfc44f827aea6eb8e001150914170ac0d49e2d", GitTreeState:"clean", GoVersion:"go1.18.9"}
Add the repository:
$ helm repo add sysdig https://charts.sysdig.com
$ helm repo update
Create a new project (namespace) for the registry scanner.
$ oc new-project registry-scanner
Note: If you are on another flavor of Kubernetes, use the kubectl command instead of oc.
Now just do the installation:
$ helm upgrade --install registry-scanner --namespace registry-scanner --create-namespace sysdig/registry-scanner \
--set config.secureBaseURL=https://FORNECIDO-DURANTE-REGISTRO-NA-SYSDIG/ \
--set config.secureAPIToken=SYSDIG-SECURE-API-TOKEN \
--set config.registryType=quay \
--set config.registrySkipTLS=true \
--set config.config.filter.maxAgeDays=365 \
--set config.registryURL=REGISTRY-URL \
--set config.registryUser=REGISTRY-USER \
--set config.registryPassword=REGISTRY-PASSWORD
If you need more details or need to customize something, consult the documentation.
The Sysdig Registry Scanner is a scheduled process via the Kubernetes cronjob. After the scan, the data is sent to the SaaS platform in the Sysdig Cloud for analysis.
$ oc get cronjobs.batch -n registry-scanner
NAME SCHEDULE SUSPEND ACTIVE LAST SCHEDULE AGE
registry-scanner 0 6 * * 6 False 0 34h 11d

Each image analyzed will have criticality ratings and their associated CVEs.

In this article we’ve seen how easy it is to install and integrate Sysdig Secure into an existing registry.
See you in the next article!
Did you like the content? Check out these other interesting articles! 🔥
Do you like what you find here? With every click on a banner, you help keep this site alive and free. Your support makes all the difference so that we can continue to bring you the content you love. Thank you very much! 😊