


📖 Estimated reading time: 4 min
The vast majority of network equipment exports its metrics using the SNMP protocol. It is therefore common for network equipment to be monitored using this protocol. The Network Weather Plugin is widely used by telecoms professionals, as it can generate graphs, maps and reports related to companies’ network environments.
In this article we’ll learn how to install Cacti 1.2 on Ubuntu 20 LTS, as well as the Network Weather Plugin.
Recently a friend asked me to help him investigate a problem with one of Cacti’s plugins. I’ve used this solution a lot in the past, and I confess that I was curious to see the current stage of Cacti’s development. So I decided to create this quick article to help those who need it and to satisfy my curiosity. 🙂
sudo apt-get install -y apache2 rrdtool mariadb-server snmp snmpd cacti

Activate the default option YES
You will then be asked to enter a password for the Cacti database. Enter a secure password and make a note of it, as you will need it later.
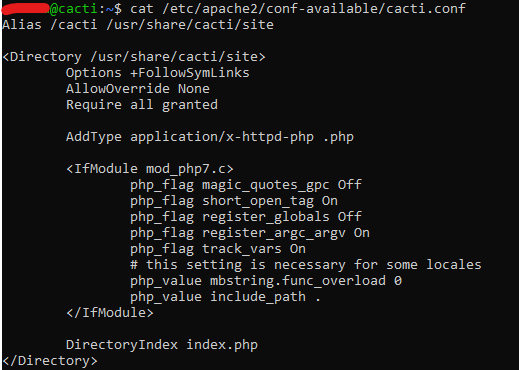
The configuration file for the web part was generated as an Apache include.
sudo apt-get install -y open-vm-tools mc htop sysstat dstat
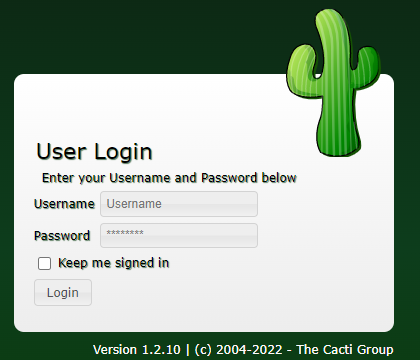
Now restart the server with the “sudo reboot” command, and try to access the VM’s IP via the browser, for example:
http://169.254.0.1/cacti/
I recommend assigning an FQDN to this VM, so that access does not have to be via IP.
Example: cacti.mydomain.com
It is also interesting to configure 2 optional features in Apache:
[1] Enable TLS 1.2+ in Apache.
My Virtual Host SSL configuration file looks like this:

[2] Set up a redirect from http://FQDN to https://FQDN

The login is “admin”, and the password will be the same as the one you set when configuring the database.

Done. Cacti installed and ready to use. That was easy, wasn’t it?
A very popular plugin among telecom professionals is Weathermap.
According to the manual, the installation process is quite simple. But there is one problem: As I was writing this post, the version available on the developer’s GIT was 0.98a, which is not compatible with Cacti 1.2.
However, a good Samaritan made a fork of the plugin and made the necessary adjustments.
I’ll show you how to install it below.
Before continuing, I recommend that you take a look at the file:
/usr/share/cacti/site/plugins/README.Plugins
It has recommendations on how to keep your plugin structure organized.
In my environment, I followed the steps described in it, and ran an extra command:
sudo ln -s /usr/local/share/cacti/plugins /usr/share/cacti/
sudo mkdir /usr/local/share/cacti/plugins
sudo chown www-data:users /usr/local/share/cacti/plugins
sudo chmod 775 /usr/local/share/cacti/plugins
cd /usr/local/share/cacti/plugins
sudo wget https://www.urban-software.com/wp-content/uploads/Cacti1x/weathermap_098a_cacti1.x_updated.zip
sudo unzip weathermap_098a_cacti1.x_updated.zip
sudo chown -R www-data:users /usr/local/share/cacti/plugins/weathermap
sudo chmod 777 /usr/local/share/cacti/plugins/weathermap/{output,configs}
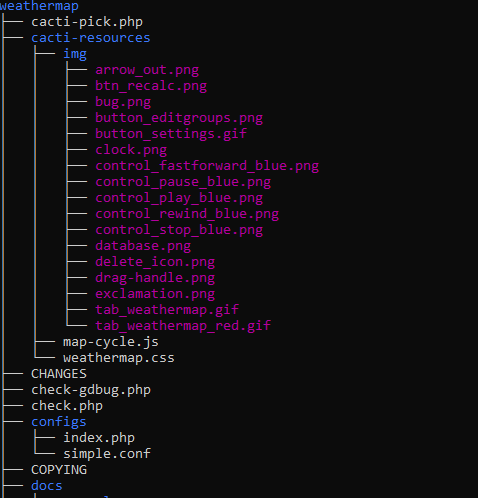
Once the plugin files have been stored, all you have to do is go to the Cacti interface and activate it.
Go to Configuration > Plugins and click on “Go”.
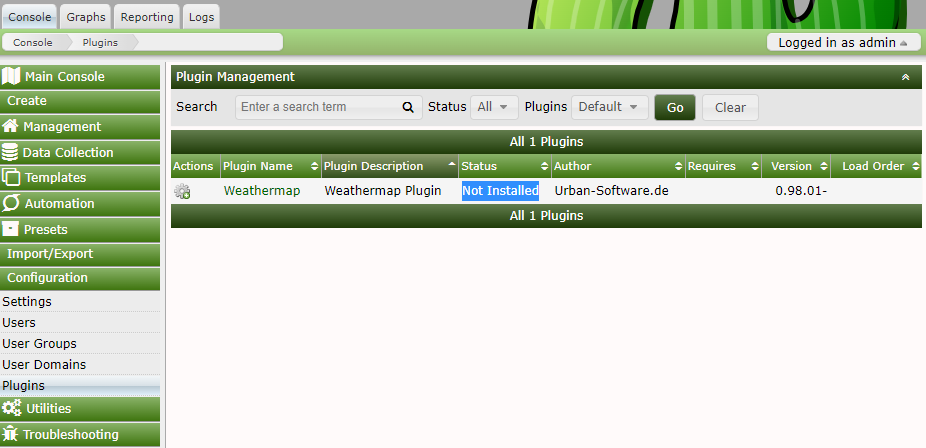
The plugin will appear in the list, but it will be marked as not installed. Simply activate it using the gear icon in the “Actions” column.
For more details on how to install the plugin, see the documentation here.
The plugin will appear in the list, but it will be marked as not installed. Simply activate it using the gear icon in the “Actions” column.
Before testing, we need a device with the SNMP service active. For this example, we’ll use the Cacti server itself.
To activate SNMP on the Cacti server, we need to follow the steps below. Note that there is a configuration file for the SNMP service.
Installing SNMP on Linux
sudo apt-get install snmpd
Configuring SNMP
sudo cat /etc/snmp/snmpd.conf

Enable SNMP
sudo systemctl enable snmpd
sudo systemctl restart snmpd
Testing SNMP
snmpwalk -v2c -c public 127.0.0.1

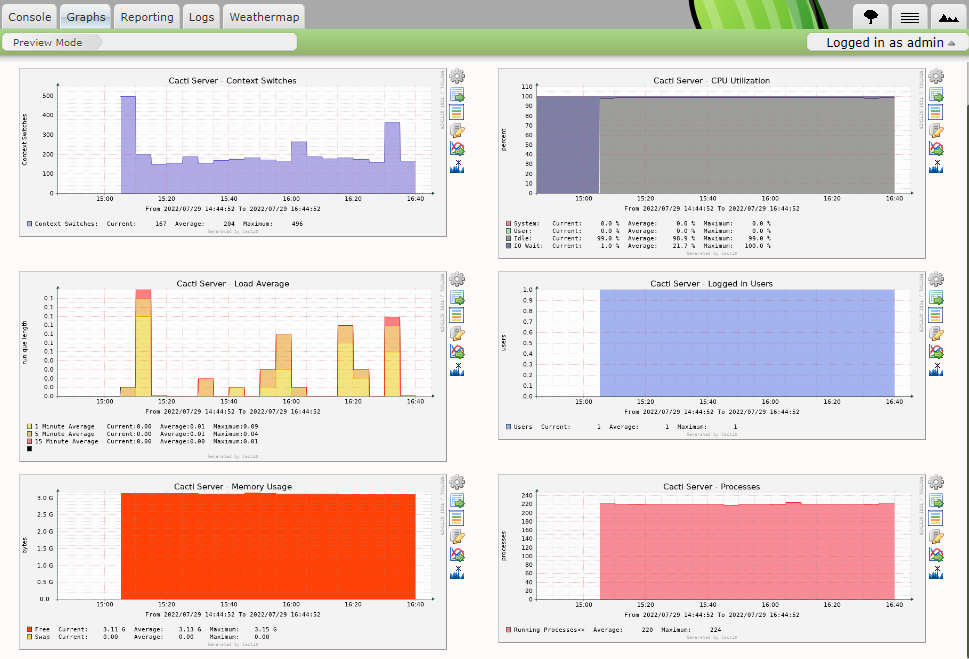
Once SNMP is running, simply add the device to Cacti. A monitored device generates graphs like the ones below.
Creating Maps
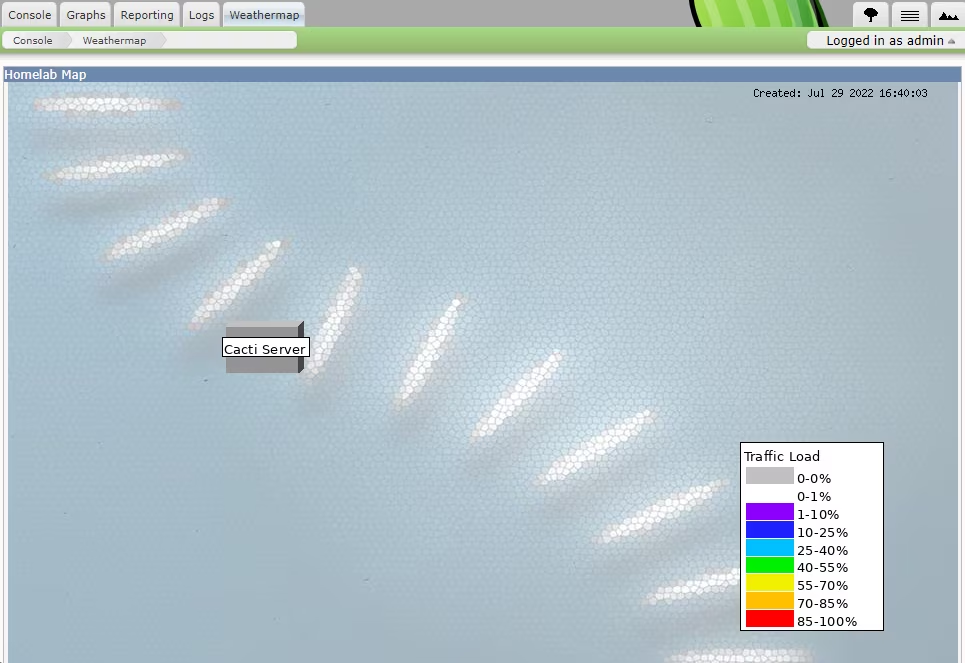
Now just create a map and associate the hosts with it.
PHP.INI
This is not necessary, but for costome reasons I made 2 adjustments to my php.ini file
short_open_tag = On
display_errors = On
For this type of Cacti installation, where all the components run on the same virtual machine, you won’t need this password, as access will be via the local socket.
For a production environment, I recommend that Apache and MariaDB be adjusted to support a larger volume load, as the default configuration of these services may not be sufficient to meet more demanding requirements.
It might also be interesting to replace self-signed certificates with Let’s Encrypt.
It’s been many years since I used Cacti, and as far as I can remember, not much has changed.
Despite being an easy-to-use and easy-to-implement opensource solution, there are other free solutions that are more complete and have more features, such as Zabbix and Netbox.
Perhaps it’s time to consider migrating your Cacti to something more modern.
Maybe it’s time to consider migrating your Cacti to something more modern.
Did you like the content? Check out these other interesting articles! 🔥
Do you like what you find here? With every click on a banner, you help keep this site alive and free. Your support makes all the difference so that we can continue to bring you the content you love. Thank you very much! 😊