It does the job of opening and tracking tickets. A friend recently asked me to help him install GLPI on Ubuntu 20.04 LTS, with support for sending emails from the most popular clouds, such as Azure, GCP and AWS.
He had some difficulty in the process because the material he found on the internet lacked some essential details. So I decided to write this article in tutorial format, in the hope that it will be useful to anyone else who finds themselves in the same situation.
This installation will work on any Cloud, Hypervisor or server with a minimum of 2GB RAM and 20Gb HD.
The minimum configuration for GLPI to work properly is:
- 2 GB RAM
- 2 vCPU
- 20 GB HD
Tip to increase the size of the HD if you are not using LVM
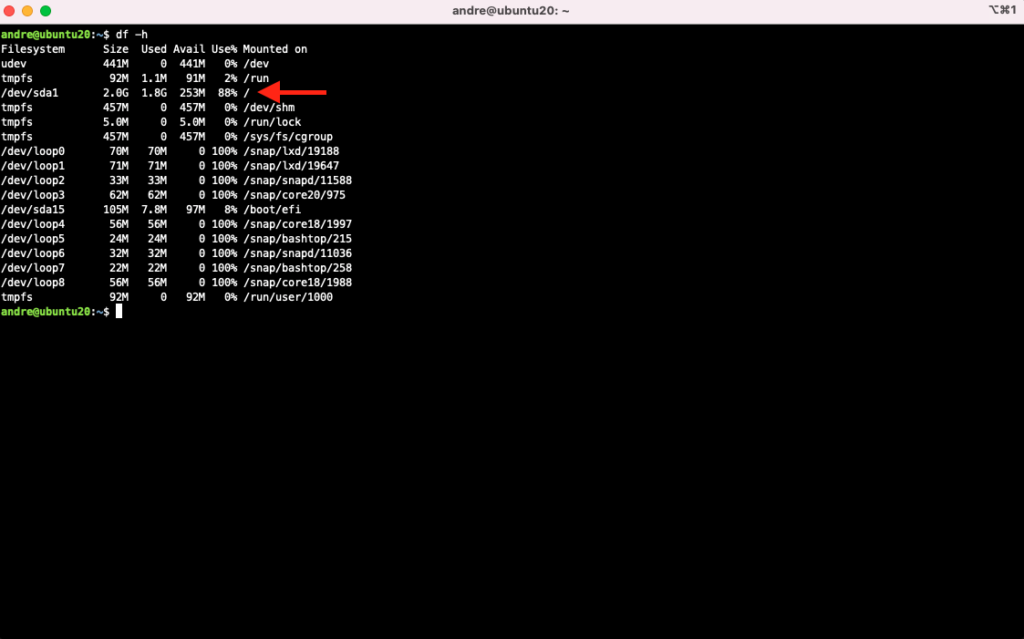
In my case, I used an Ubuntu cloud image. Although this is a practical approach, the HD of this type of image can be very small, as we can see in the image below.
To expand the disk, shut down the VM, increase the disk size via your hypervisor’s management console, and start the VM again. The VM’s disk will be larger, but the filesystem will remain the same size.
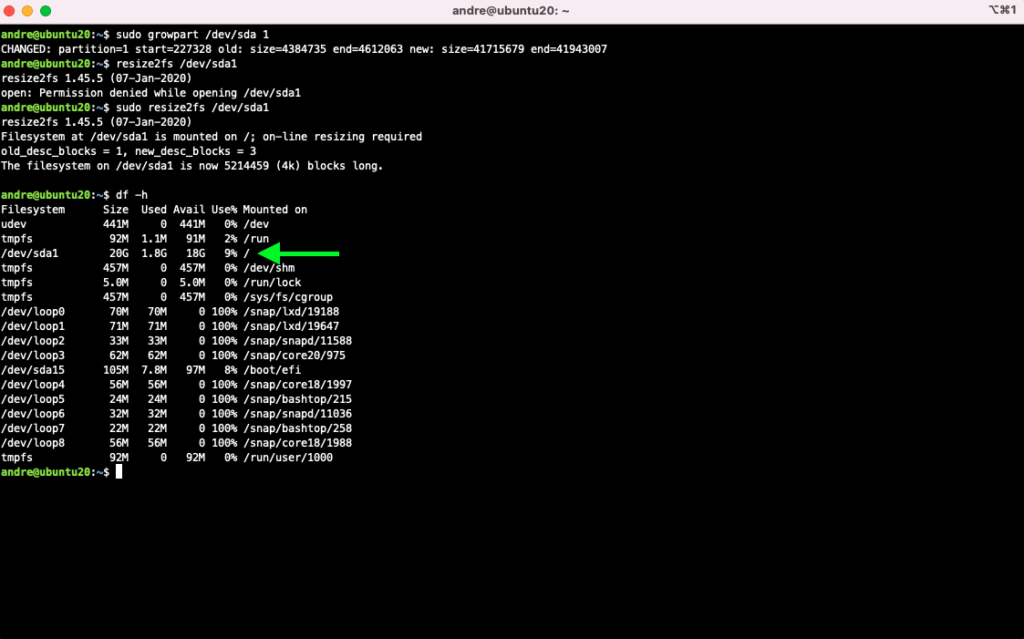
To expand the filesystem, run these commands:
sudo growpart /dev/sda 1
sudo resize2fs /dev/sda1
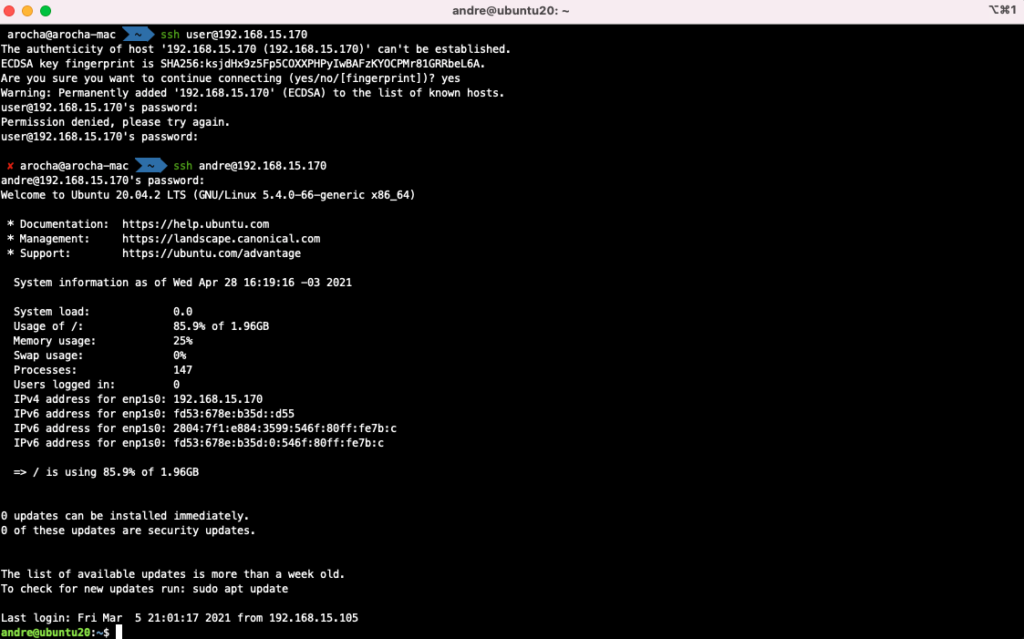
After installing Ubuntu, start preparing the VM:
Update the packages:
sudo apt-get update
sudo apt-get -y upgrade
Install and activate the VM Guest Agent, so that Clouds and Hypervisors can obtain information from the instance or VM:
sudo apt-get -y install qemu-guest-agent
sudo systemctl enable --now qemu-guest-agent.service
Install the necessary software:
sudo apt-get -y install bash-completion chrony xz-utils libarchive-tools bzip2 unzip curl sendmail
sudo apt-get -y install apache2 libapache2-mod-php php-soap php-cas
sudo apt-get -y install php-{apcu,curl,gd,imap,ldap,mysql,xmlrpc,xml,mbstring,bcmath,intl,zip,bz2}
sudo apt-get -y install php-mail libphp-phpmailer
Database:
sudo apt-get -y install mariadb-server
Installing the database may take a few minutes, as Ubuntu’s mariadb-server package runs some post-installation scripts. To follow the process, open another terminal and run this command:
while true; do ps faxuwww | grep mysql; sleep 5; clear; done
sudo timedatectl set-timezone America/Sao_Paulo
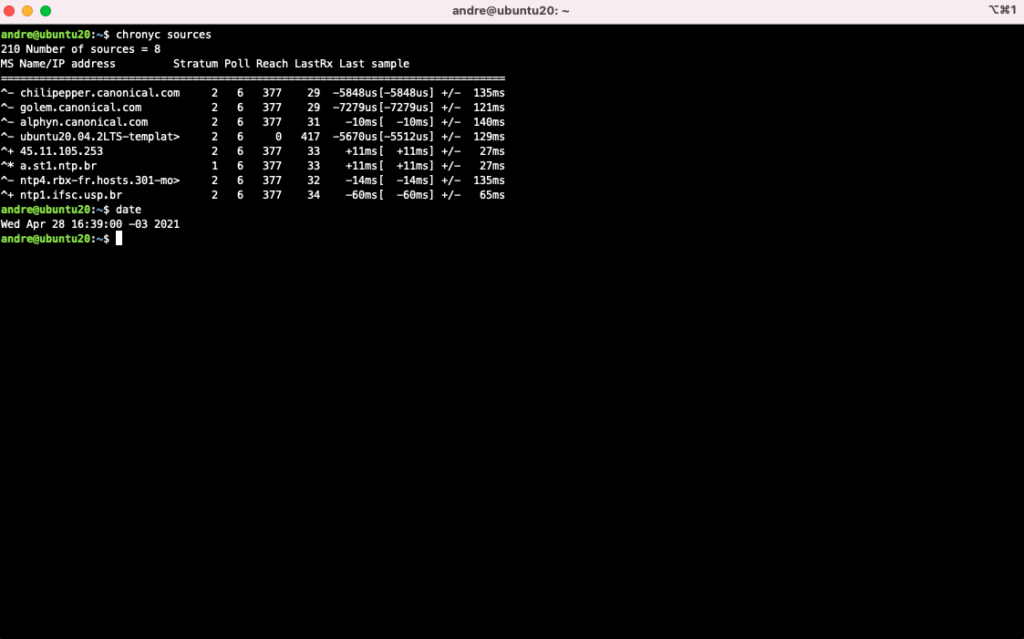
sudo systemctl enable --now chrony
chronyc sources
The server must have the correct time:
It is important that the VM has a well-defined hostname, as well as a correctly configured domain name and timezone. These settings are important for GLIP to be able to send emails, as well as operate correctly when opening tickets. We also need to adjust the default log rotation behavior, as well as activate the email trigger service.
sudo hostnamectl set-hostname glpi-lab.linuxelite.com.br
sudo sed -i s/weekly/daily/g /etc/logrotate.conf
sudo systemctl enable --now sendmail
By default, GLPI uses Apache as its web server. We will now create a directory for GLPI and authorize access to it:
$ sudo mkdir -p /var/www/html/glpi
$ sudo -i
# echo -e "<Directory \"/var/www/html/glpi\">\nAllowOverride All\n</Directory>" > /etc/apache2/conf-available/glpi.conf
Activate the created configuration:
a2enconf glpi.conf
systemctl reload apache2
Downloading GLPI:
wget -O- https://github.com/glpi-project/glpi/releases/download/9.5.4/glpi-9.5.4.tgz | tar -zxv -C /var/www/html/
exit
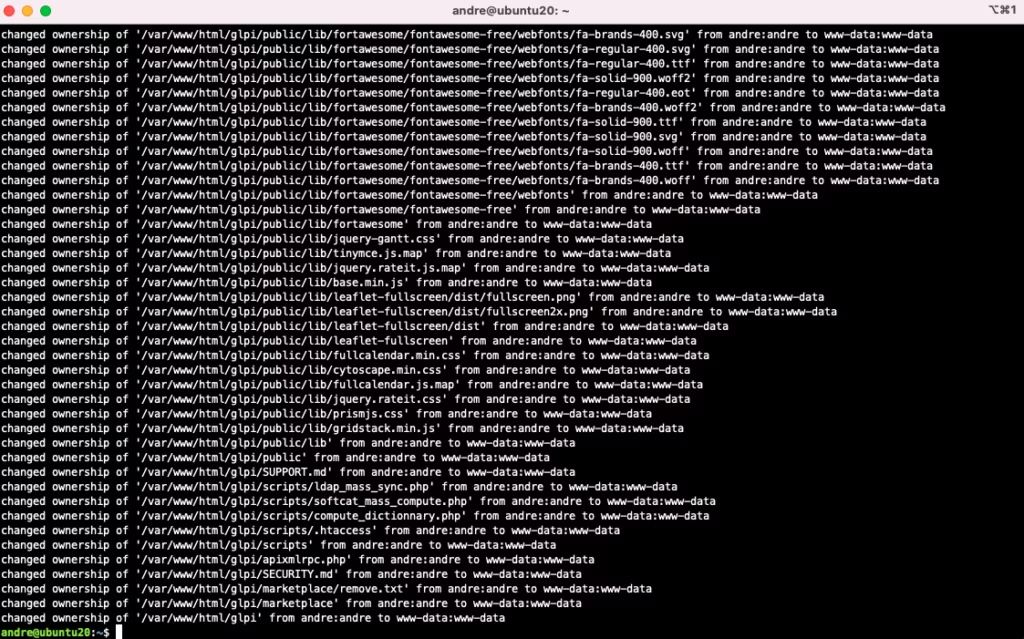
Change the owner of the files to the user running Apache (this may have security implications, but due to the way GLPI operates, it is necessary):
sudo chown -vRf www-data:www-data /var/www/html/glpi
Change file permissions:
sudo find /var/www/html/glpi -type d -exec chmod 755 {} \;
sudo find /var/www/html/glpi -type f -exec chmod 644 {} \;
Creating a User and Database in MariaDB (take note of the password, as it will be used later):
sudo mysql -e "create database glpidb character set utf8"
sudo mysql -e "create user 'glpi_admin'@'localhost' identified by '**k21f7f82a493f01X**'"
sudo mysql -e "grant all privileges on glpidb.* to 'glpi_admin'@'localhost' with grant option";
Set a strong password for the MariaDB root (example: labx32g8g93b514g12M):
$ sudo mysql_secure_installation
responder Y para todas as perguntas
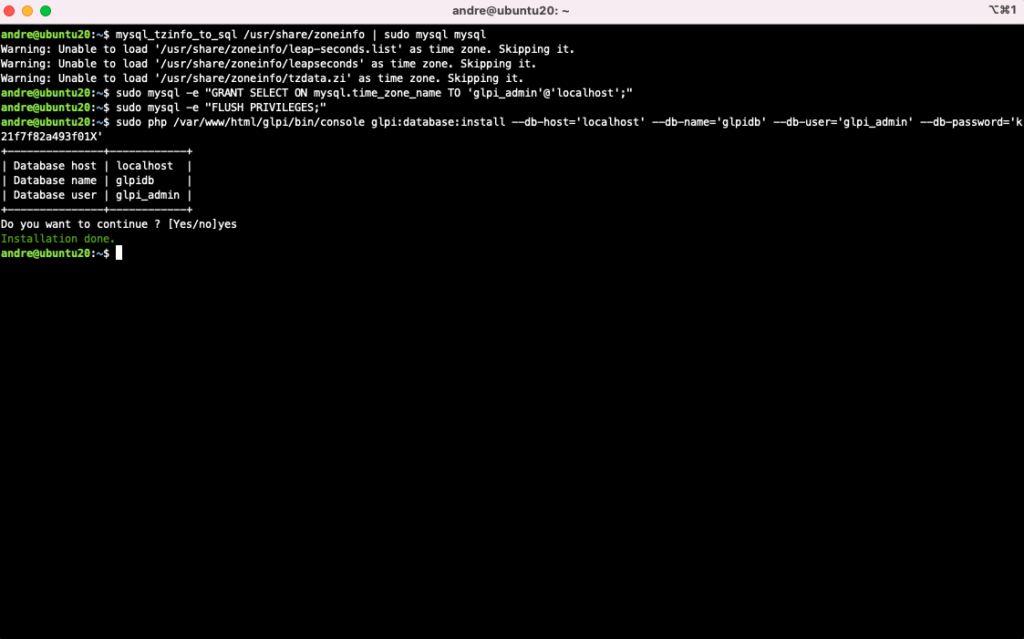
Adjusting the database timezone so that GLPI displays time data correctly and can work properly with schedules:
mysql_tzinfo_to_sql /usr/share/zoneinfo | sudo mysql mysql
sudo mysql -e "GRANT SELECT ON mysql.time_zone_name TO 'glpi_admin'@'localhost';"
sudo mysql -e "FLUSH PRIVILEGES;"
Installing GLPI via shell:
sudo php /var/www/html/glpi/bin/console glpi:database:install \
--db-host='localhost' \
--db-name='glpidb' \
--db-user='glpi_admin' \
--db-password='k21f7f82a493f01X'
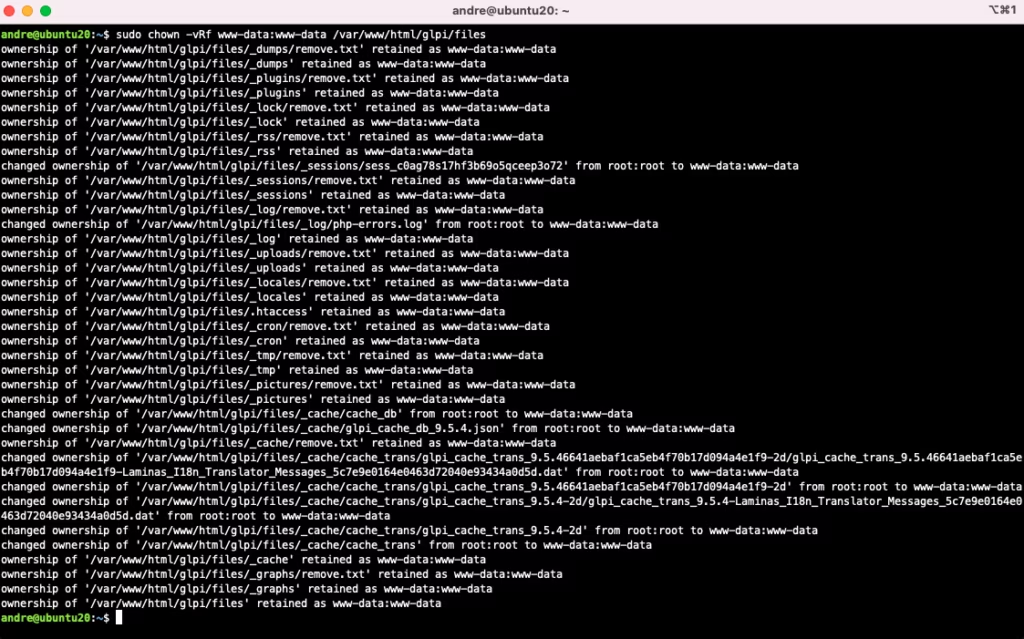
Adjust once again the files owner:
sudo chown -vRf www-data:www-data /var/www/html/glpi/files
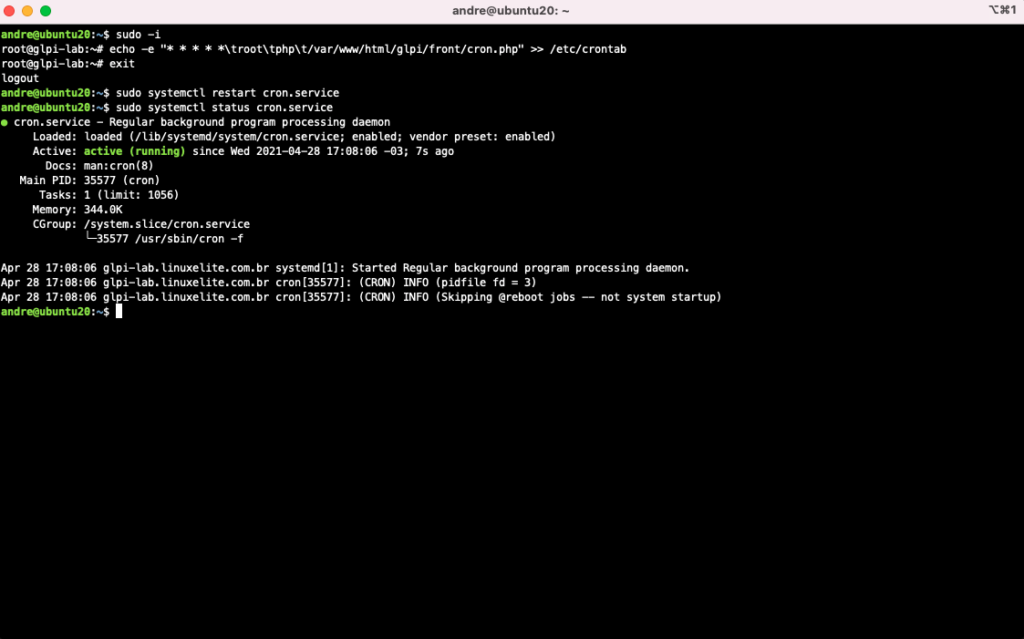
Configuring CRON so that GLPI can trigger tasks automatically:
$ sudo -i
# echo -e "* * * * *\troot\tphp\t/var/www/html/glpi/front/cron.php" >> /etc/crontab
# exit
$ sudo systemctl restart cron.service
Remove the GLPI installation directory to free up disk space.
$ sudo rm -vRf /var/www/html/glpi/install
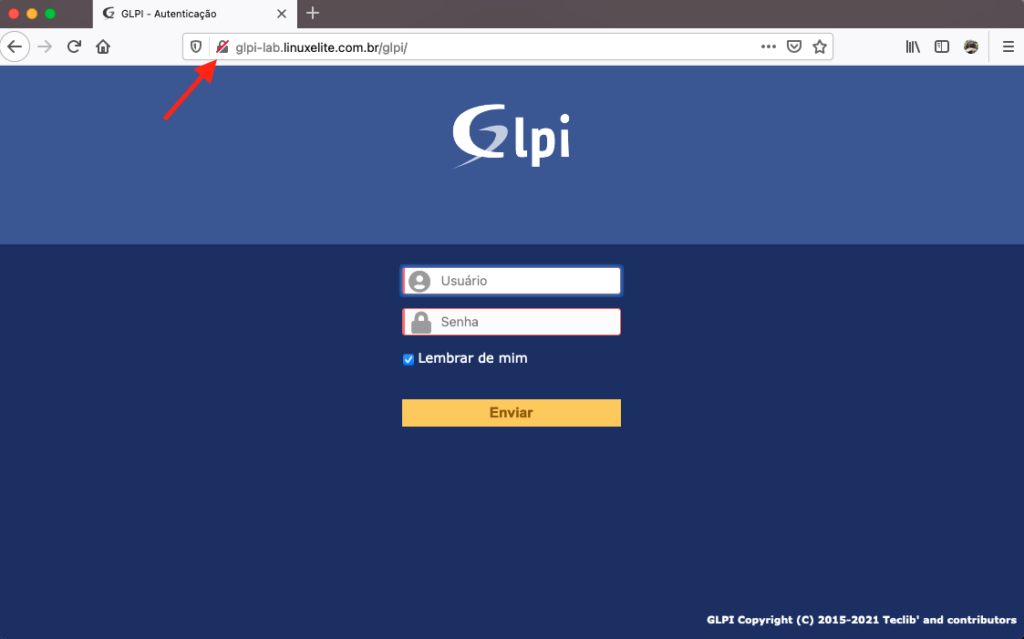
If you have already configured your FQDN, use it to access GLPI via the Web Browser. Otherwise, use the IP of the VM or Instance.
http://glpi-lab.linuxelite.com.br/glpi/
A profile must be used to authenticate with GLPI. There are 4 different profiles, with their respective default passwords, which must be changed as soon as you log in for the first time.

Default users and passwords for GLPI profiles:
- glpi/glpi (super-admin)
- tech/tech
- postonly/postonly (only for helpdesk)
- normal/normal
We will now create an Apache URL Rewrite, so that accesses to the web server root are redirected to “/glpi”.
Example: From “http://glpi-lab.linuxelite.com.br” to “http://glpi-lab.linuxelite.com.br/glpi/"
First activate the module:
$ sudo a2enmod rewrite\
$ sudo systemctl restart apache2
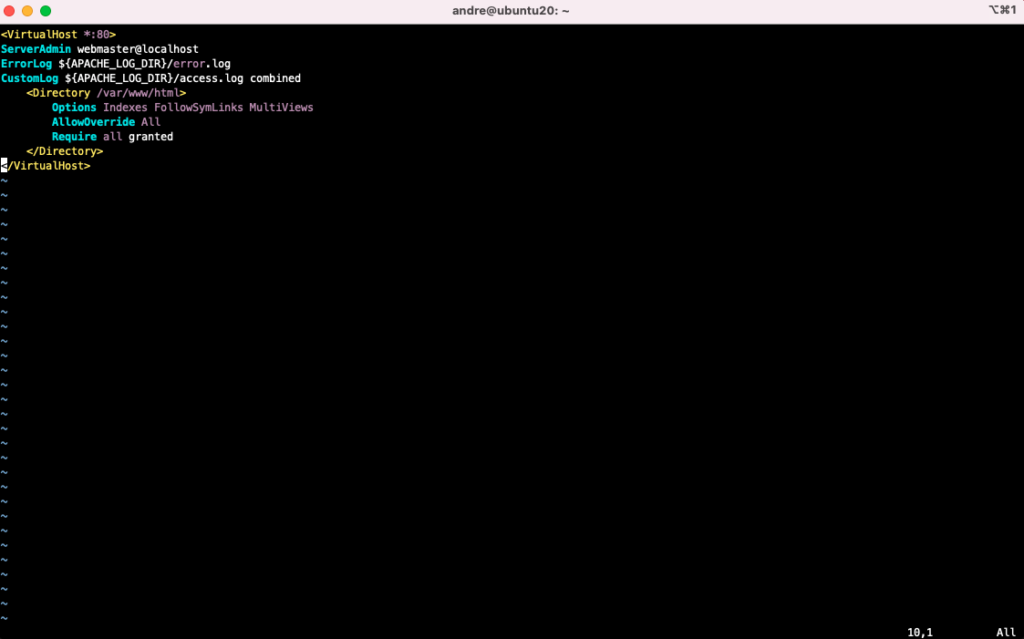
Edit the default virtual host so that it makes use of mod_rewrite. But first, create a backup of the original file:
$ sudo cp /etc/apache2/sites-available/000-default.conf /etc/apache2/sites-available/000-default.conf.bkp
Replace the contents of the file “/etc/apache2/sites-available/000-default.conf” with this one:
Make sure you’ve done everything right:
$ apachectl -t\

Syntax OK
Create the rewrite policy:
$ sudo vi /var/www/html/.htaccess

RewriteEngine on
RewriteCond %{REQUEST_URI} ^/$
RewriteRule (.*) /glpi/ [R=301]
Restart the service to validate the changes:
$ sudo systemctl restart apache2
There are 2 ways to activate encryption (HTTPS) in Apache:
1. With purchased (or locally generated and signed) digital certificates,
2. By using Let’s Encrypt.
I recommend using Let’s Encrypt to save money. Just follow this link to configure it.
NOTE: Let’s Encrypt requires valid (public) IPs to be used. However, there is a way to use Let’s Encrypt in an environment that only has private IPs (where access only works on a local network or via VPN).
In this article we will present the approach that uses a locally generated and signed certificate. It doesn’t differ much from a certificate purchased from an official CA.
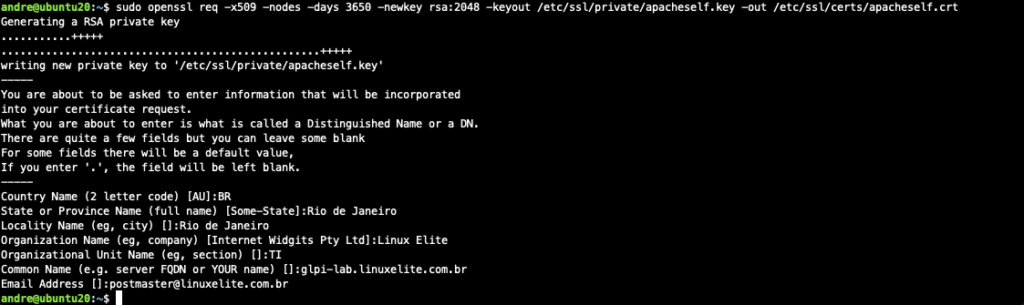
$ sudo openssl req -x509 -nodes -days 3650 -newkey rsa:2048 -keyout /etc/ssl/private/apacheself.key -out /etc/ssl/certs/apacheself.crt
Fill in the answers so that they are similar to the following:
Country Name (2 letter code) [AU]:BR
State or Province Name (full name) [Some-State]:Rio de Janeiro
Locality Name (eg, city) []:Rio de Janeiro
Organization Name (eg, company) [Internet Widgits Pty Ltd]:Linux Elite
Organizational Unit Name (eg, section) []:TI
Common Name (e.g. server FQDN or YOUR name) []:glpi-lab.linuxelite.com.br
Email Address []:[email protected]
Configure Apache to use SSL:
$ sudo vi /etc/apache2/conf-available/ssl.conf

SSLCipherSuite EECDH+AESGCM:EDH+AESGCM:AES256+EECDH:AES256+EDH
SSLProtocol All -SSLv2 -SSLv3 -TLSv1 -TLSv1.1
SSLHonorCipherOrder On
Header always set X-Frame-Options DENY
Header always set X-Content-Type-Options nosniff
SSLCompression off
SSLUseStapling on
SSLStaplingCache "shmcb:logs/stapling-cache(150000)"
SSLSessionTickets Off
Define an SSL site:
$ sudo cp /etc/apache2/sites-available/default-ssl.conf /etc/apache2/sites-available/default-ssl.conf.bkp
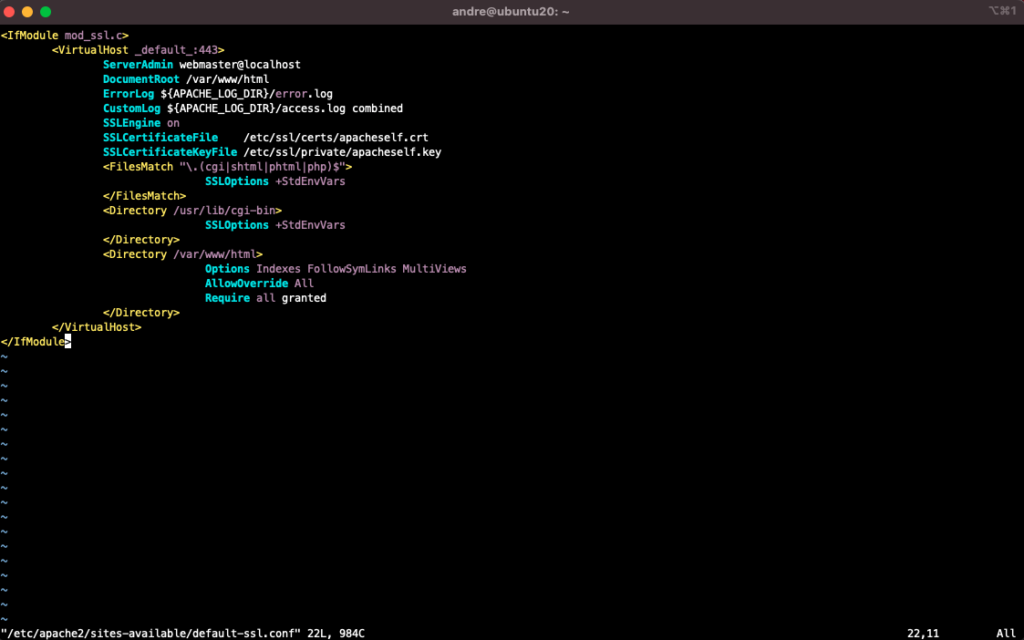
The file /etc/apache2/sites-available/default-ssl.conf must have the following content:
$ sudo vi /etc/apache2/sites-available/default-ssl.conf
Activate all changes:
$ sudo a2enmod ssl
$ sudo a2enmod headers
$ sudo a2ensite default-ssl
$ sudo a2enconf ssl
Make sure the settings are correct:
$ sudo apachectl -t

Syntax OK
Restart Apache for the settings to take effect:
$ sudo systemctl restart apache2
Note that there is now an HTTPS service running:
$ ss -ta | grep http

LISTEN 0 511 *:https *:*
LISTEN 0 511 *:http *:*

If you want to automatically redirect HTTP accesses to HTTPS, make this change in the ".htaccess” file:
$ sudo vi /var/www/html/.htaccess

RewriteEngine on
RewriteCond %{REQUEST_URI} ^/$
RewriteRule (.*) /glpi/ [R=301]
RewriteCond %{SERVER_PORT} 80
RewriteRule ^(.*)$ https://glpi-lab.linuxelite.com.br/$1 [R,L]
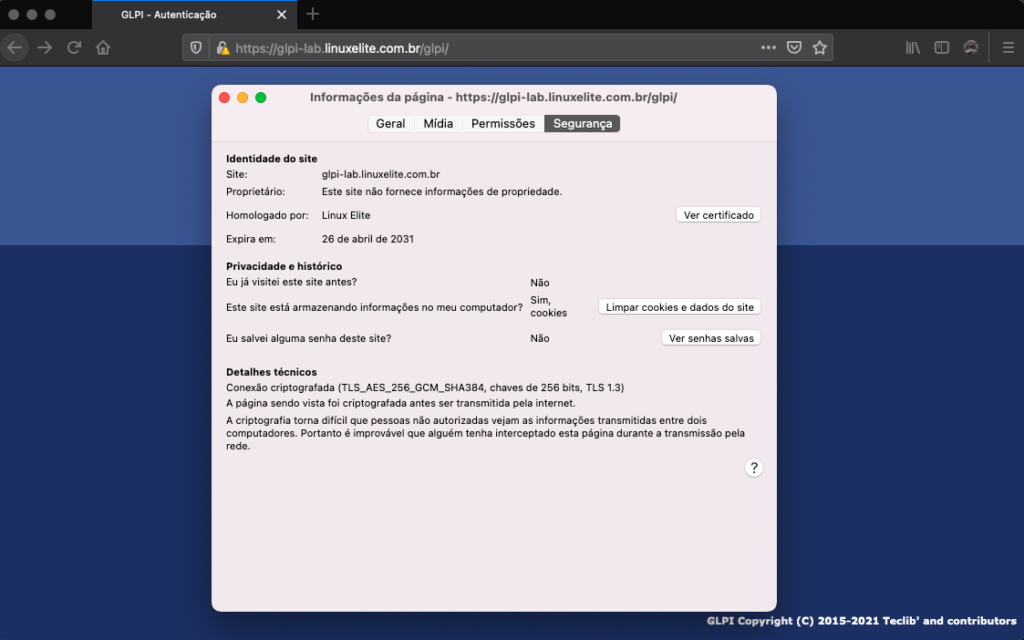
Refresh your web browser. You will be redirected to HTTPS.

Display the details of the digital certificate.
GLPI is unable to authenticate via username and password with the email providers of some public clouds. So we can’t configure it in this way to send emails. To get around this problem, we have to distribute emails via relay.
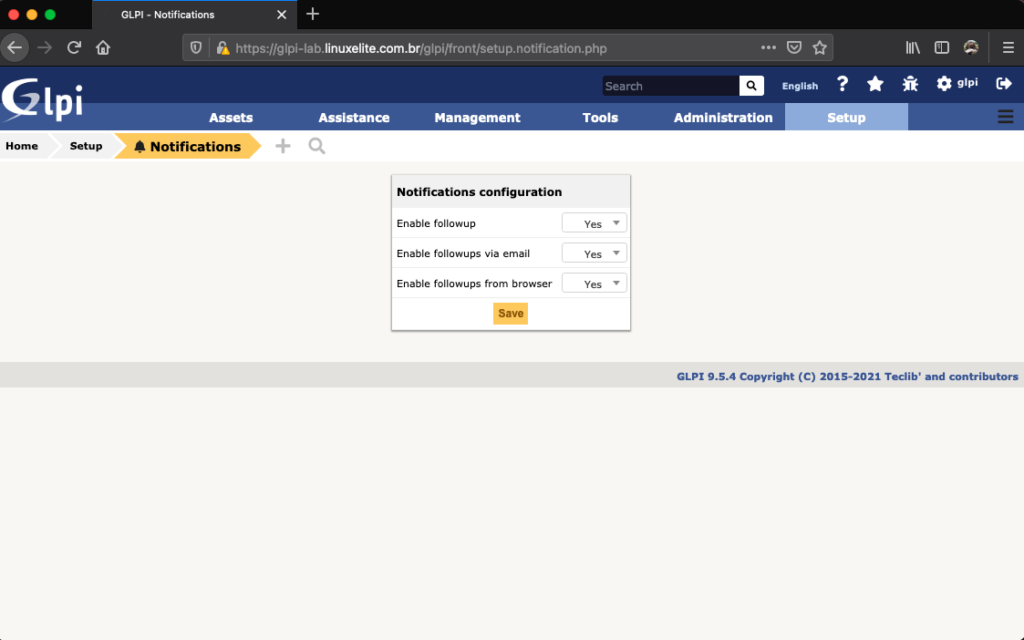
Ative as notificações do GLPI:
Configure GLPI to use the SMTP service we have installed:
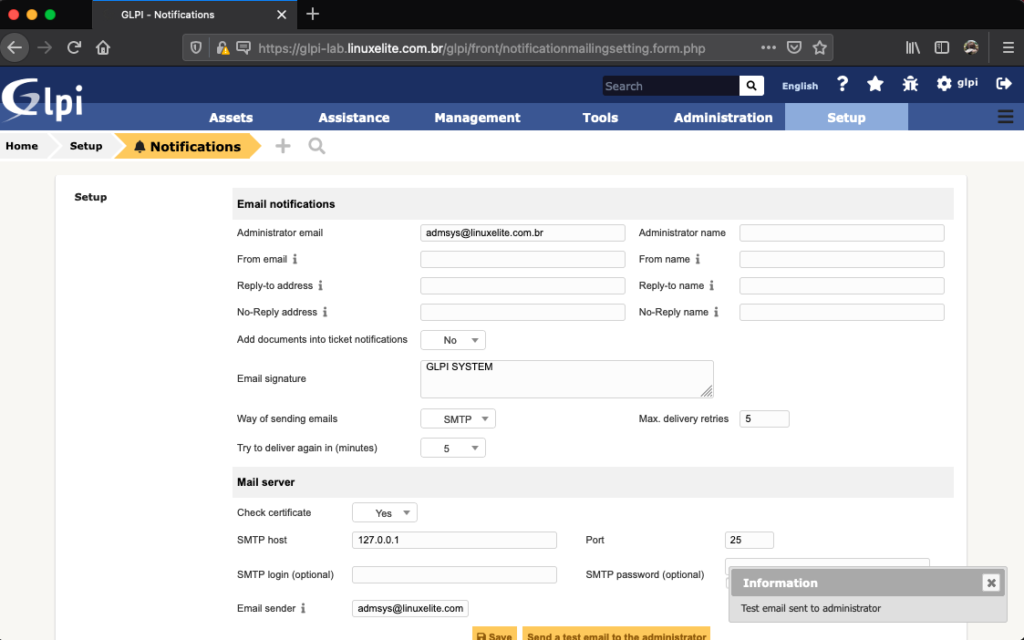
Check in the Postfix logs that the e-mail was sent:
$ tail /var/log/mail.log
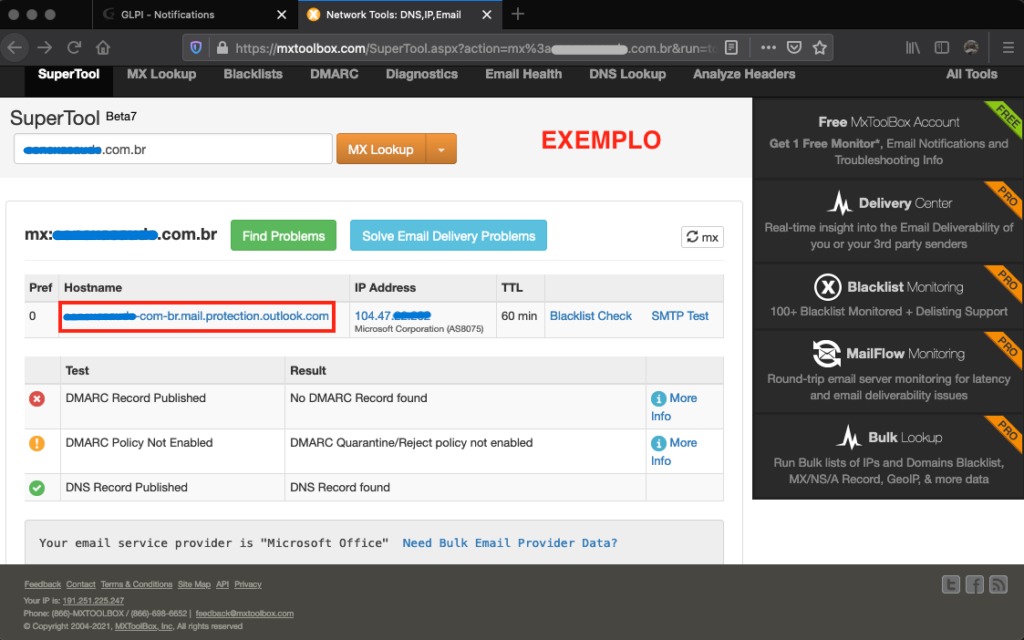
This is the tricky part. In office 365, you need to find out which SMTP pool serves your domain in order to use this information in the Postfix relay configuration. Use MX Toolbox to find out which is your MX SMTP Pool.
Once you have this information, it’s time to configure Postfix to send the emails via relay.
Use this post as a reference when configuring Postfix.
Note only the item “3. Office 365 SMTP relay” in the post. The user and password configuration part is not necessary, as we will be authorizing Mail Flow by IP.
In the Office 365 administrative panel, create a connector:
Exchange Admin Center > Mail Flow > Connectors > + Add a connector
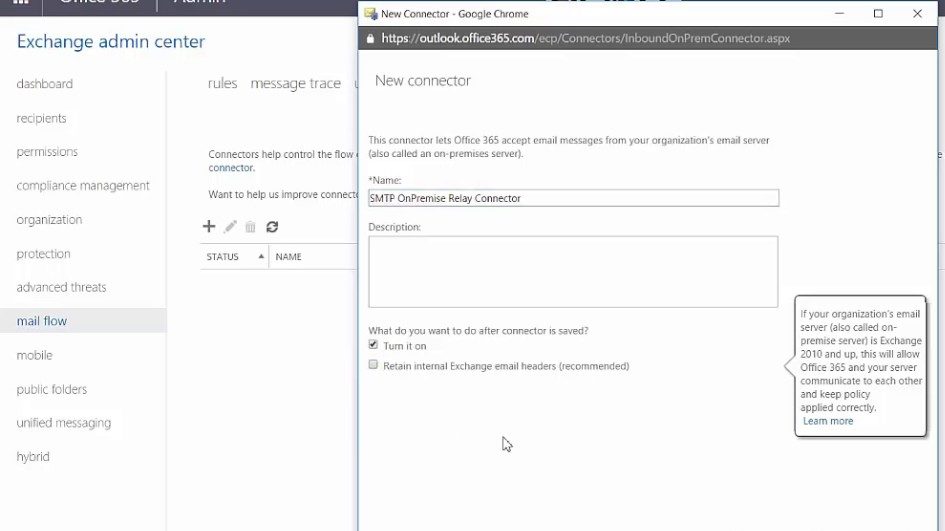
Set it up like this:
- Mail flow scenario: From: Your organization’s email server To: Office 365
- Name: GLPI
- Description: Allow GLPI Mail Relay
Choose the Radio Button “By verifying the IP address of the sending server matches one of the followig IP addresses, which belong exclusively to your organization”.
In the available field, enter the public IP that is associated with GLPI. You can also use the NAT Gateway IP if the environment does not use valid IPs.
The relay system is the same as for GCP. All you have to do is authorize the IPs that will send the messages through Google’s SMTP structure.

The Postfix e-mail relay configuration can be done according to Google’s documentation.
GSuite’s SMTP information can be consulted here.
In the case of AWS, configuration must be done via SNS. Simply follow the setup of the Postfix relayhost, using the information contained in the SNS documentation.
That’s it folks. I hope this material was useful for those who are having trouble installing and configuring GLPI in more modern structures, such as the current public clouds.
Cheers.
Did you like the content? Check out these other interesting articles! 🔥
Please support this content by clicking on one of our advertisers’ banners. ❤️
Are you familiar with OCS Inventory? How about taking a look and learning a bit more?